Why teams add a hosted crypto checkout page
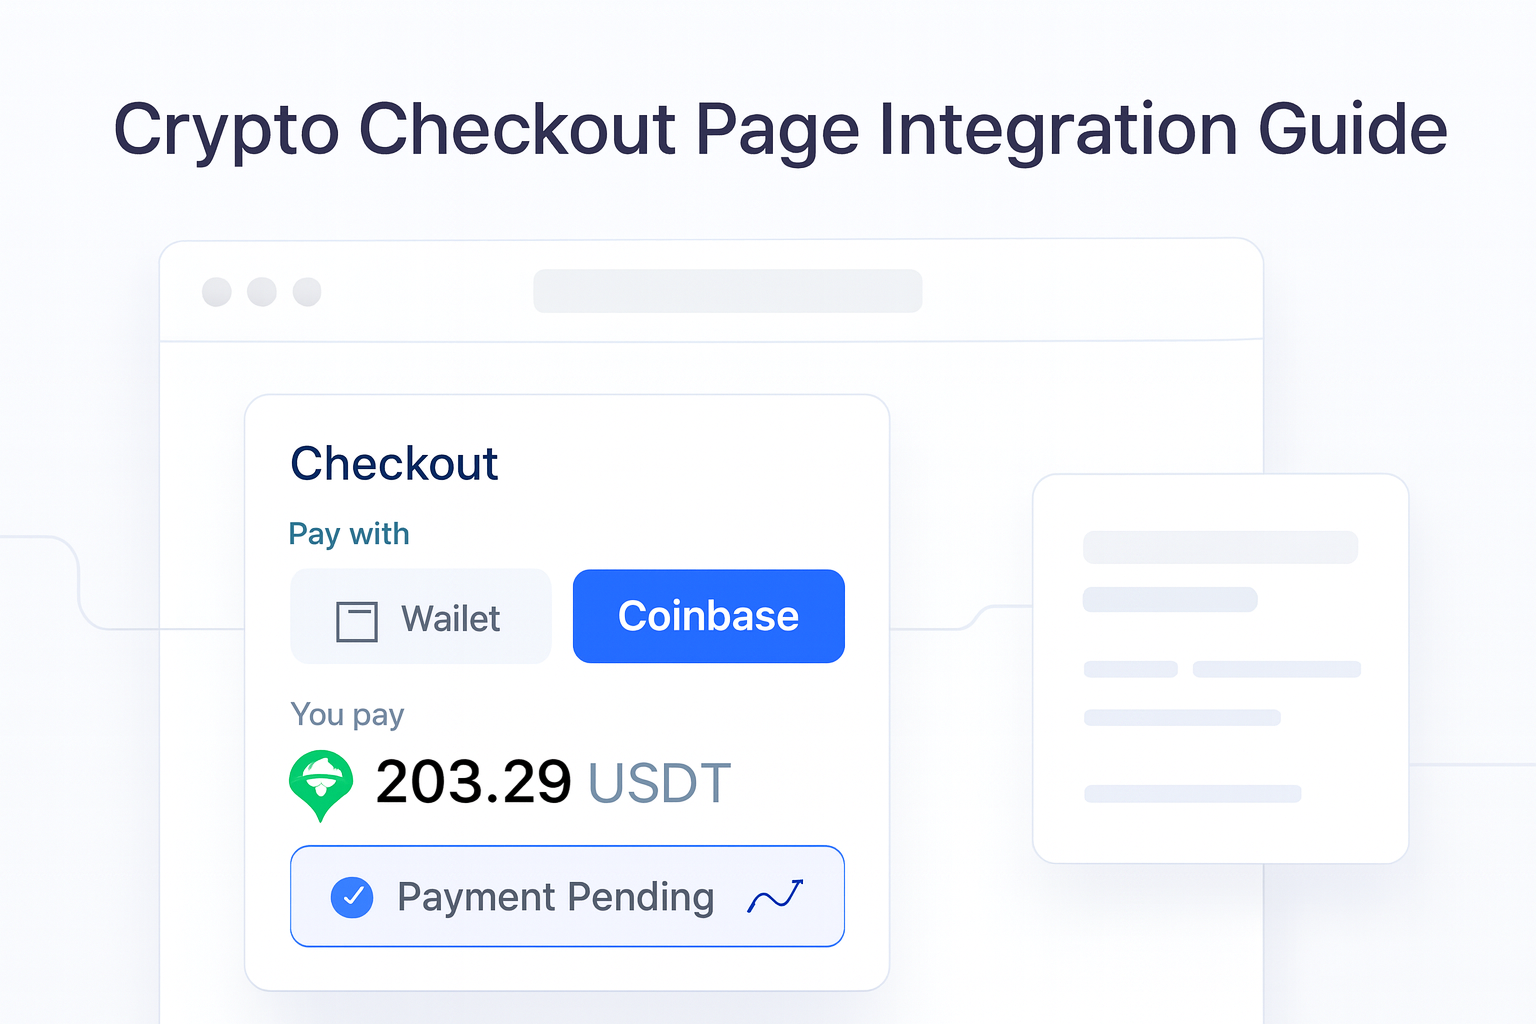
If you want to accept crypto payments without building every payment screen yourself, a hosted checkout page is the fastest place to start. It gives customers a clear payment flow while your team keeps control of branding, accepted assets, and settlement choices. Radom Checkout supports one-time payments and subscriptions, with wallet support and reliable status updates.
This guide is for payments teams, founders, finance operators, platform operators, and developers who want a practical way to test a crypto checkout page integration.
What a crypto checkout page integration should do
A useful hosted checkout should do more than display a payment address. It should help customers understand what they are paying for, reduce manual follow-up, and give your team a clean operational path after payment.
- Present a branded payment page that matches your business.
- Support one-time payments and subscriptions.
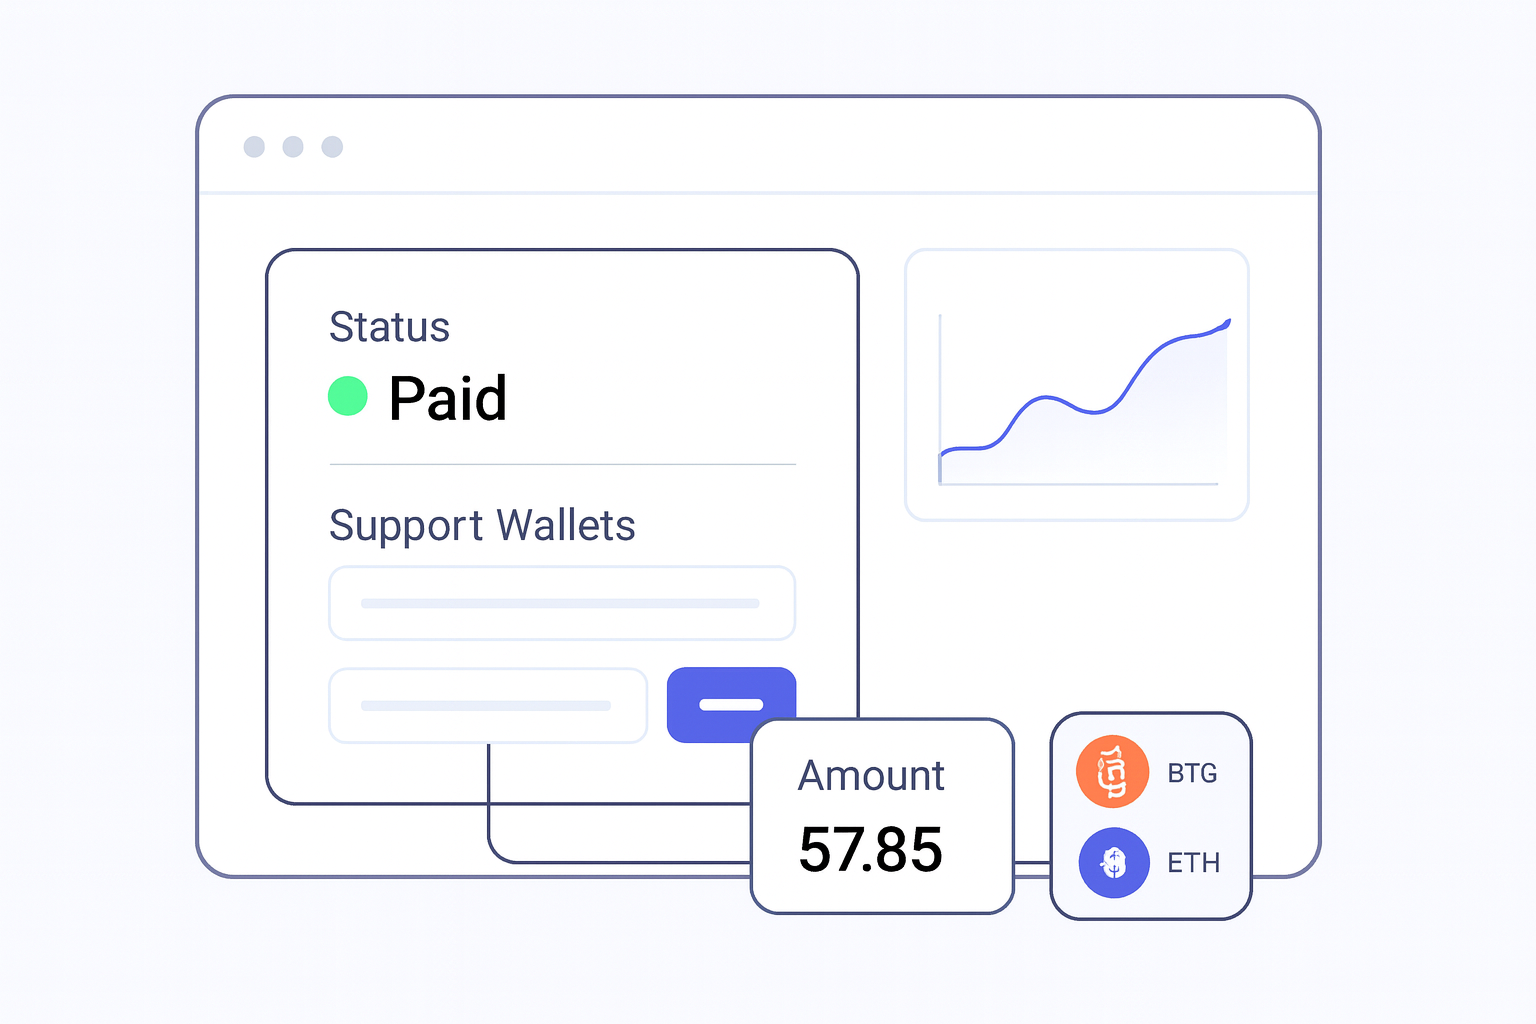
- Show clear payment status updates.
- Work across wallets without extra interface building.
- Let your team manage settlement and follow-up from a single platform.
How to approach the integration
- Decide whether you need one-time payments, subscriptions, or both.
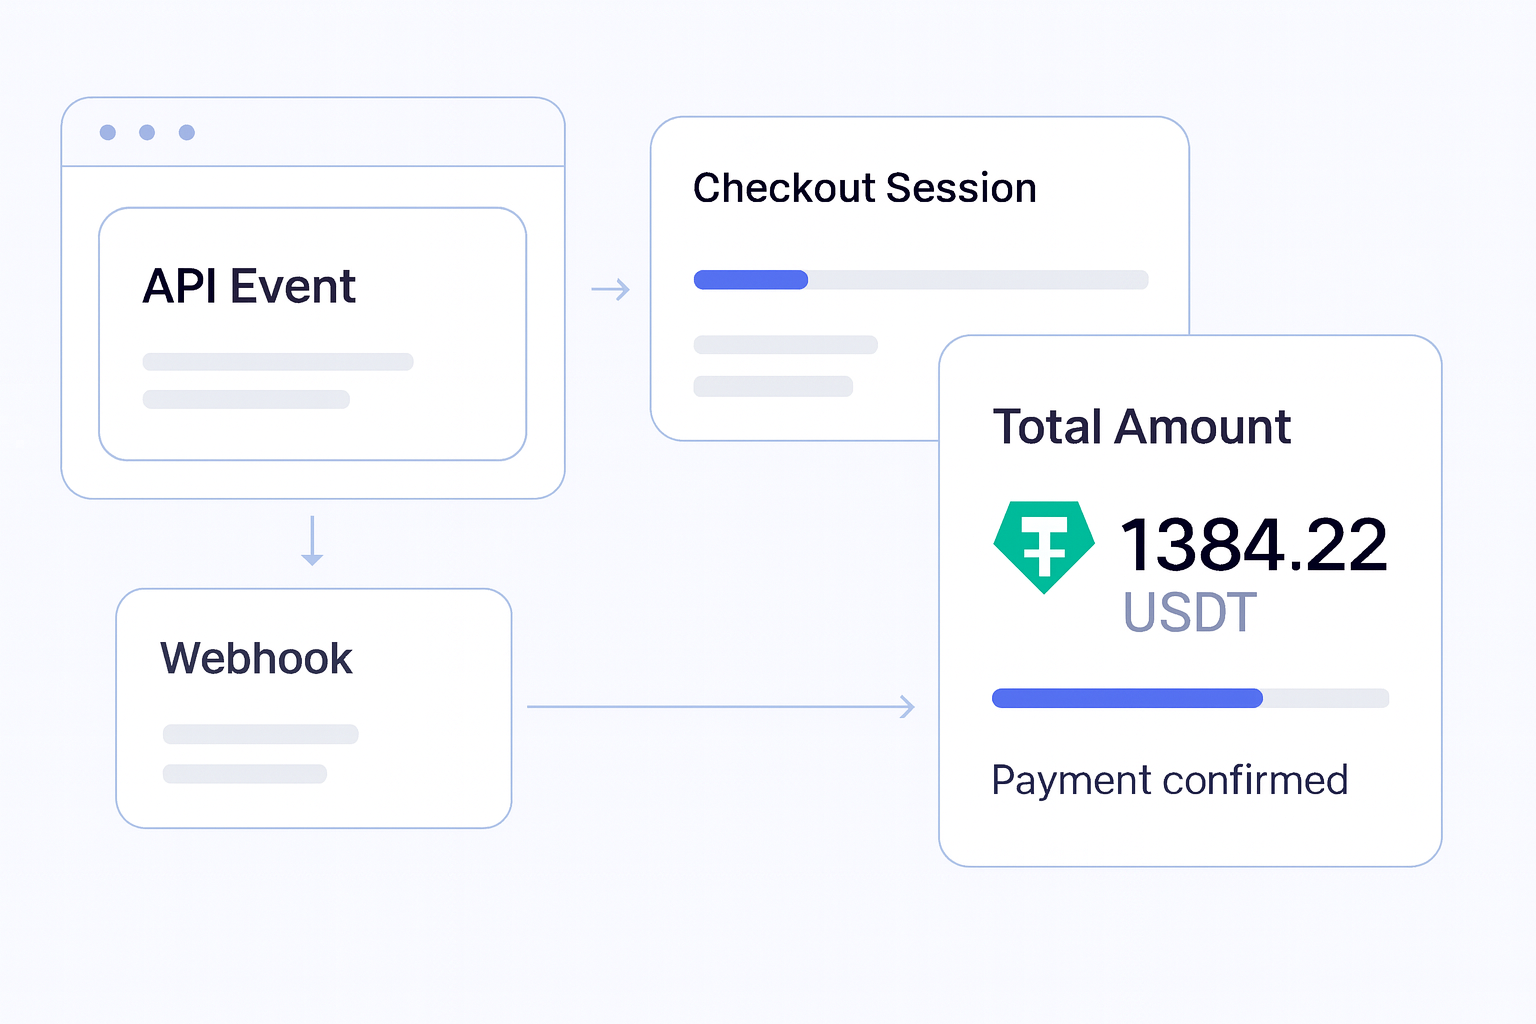
- Map the customer journey from checkout to confirmation.
- Choose the assets and payment settings you want to accept.
- Match the hosted page to your brand with logo, colors, fonts, and product details.
- Test the flow in the dashboard before you launch.
- Review how your team will track payment status, settlement, and reconciliation after payment.
Radom is designed to remove work at the point where teams usually slow down: building the payment interface, handling status updates, and maintaining a checkout flow that stays current without extra engineering effort.
Where Radom fits
Radom Checkout gives you a hosted payment flow for one-time payments and subscriptions, with branding controls and payment settings in the dashboard. If your team wants a broader crypto payments setup, Radom also supports hosted checkout, payment links, invoices, subscriptions, and APIs from one account.
For teams comparing implementation paths, it often makes sense to start with hosted checkout, then decide whether payment links or API-based flows are a better fit for later use cases.
Review Radom pricing or contact sales if you are planning higher-volume payments or need help with the right setup.
Implementation checklist
- Confirm the payment type you need.
- Set branding and product details.
- Check which assets you want to accept.
- Test the customer experience from payment start to confirmation.
- Make sure your internal team knows how to monitor payment status.
- Plan how settlement will flow into your finance process.
When to use hosted checkout instead of building your own flow
Hosted checkout is a good fit when speed matters, when you want a cleaner customer experience than a basic payment address, or when your team does not want to maintain a custom checkout interface. It is also useful when finance and operations teams want more predictable payment handling without adding unnecessary engineering work.
If you need developer documentation for implementation details, use the Radom docs alongside the product page.
Frequently asked questions
Does Radom Checkout support one-time payments and subscriptions?+
Yes. The approved product page says Radom Checkout supports one-time payments and subscriptions.
Can I brand the checkout page?+
Yes. The approved product page says you can match checkout to your brand with custom colors, fonts, logo placement, product images, and payment settings.
Do I need to build the whole checkout interface myself?+
No. Radom Checkout is a hosted payment flow, so the customer-facing checkout page is already provided.
Where should I go next if I want to integrate?+
Start with the product page, then use the docs for implementation details. If you want help choosing the right setup, contact sales.