How to set up checkout with crypto
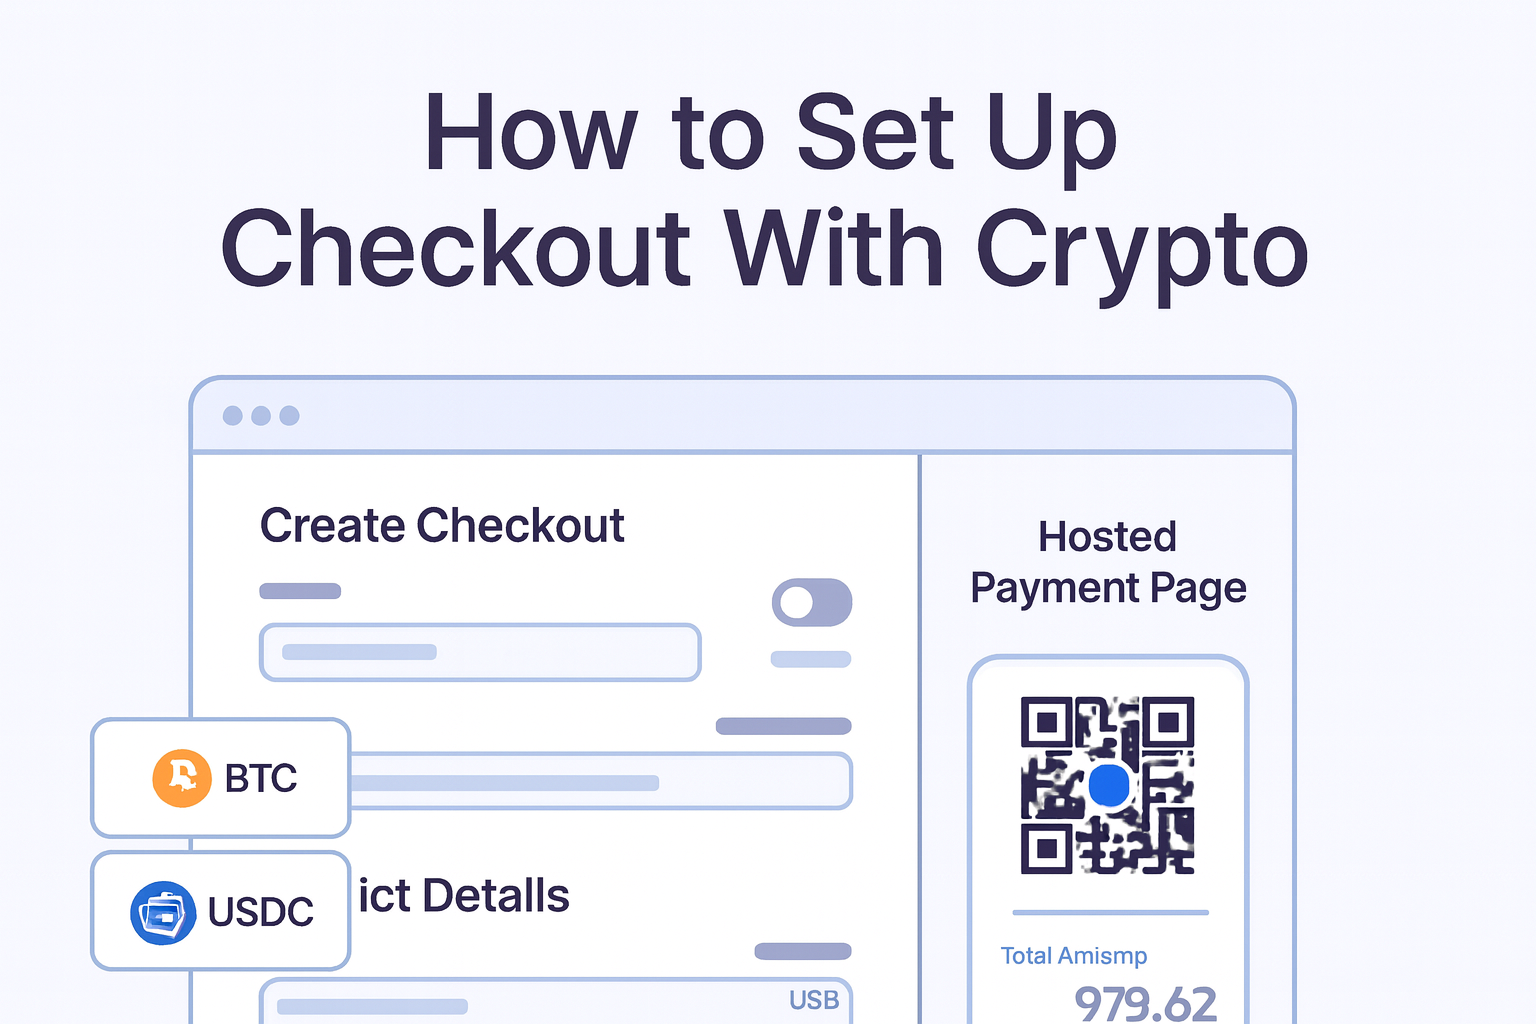
If you want to accept crypto payments without building every payment screen yourself, hosted checkout is the fastest place to start. Radom gives you a hosted crypto payment flow for one-time payments and subscriptions, with wallet support and reliable status updates. You can also match the checkout to your brand with custom colors, fonts, logo placement, product images, and payment settings.
This guide is for payments teams, founders, finance operators, platform operators, and developers who want a practical setup path, not a generic overview of crypto payments.
1. Confirm the payment use case
Start by deciding what the checkout needs to do. Radom Checkout supports one-time payments and subscriptions, so define whether you are collecting a single purchase, a recurring charge, or both. If your team also needs invoices, payment links, or broader payment acceptance, review the related product pages before you build.
For teams comparing options, the main question is whether you need a hosted flow, a custom API build, or a lighter no-code collection method. If you want a branded payment page without building the interface yourself, hosted checkout is the right fit.
2. Set up the checkout in your account
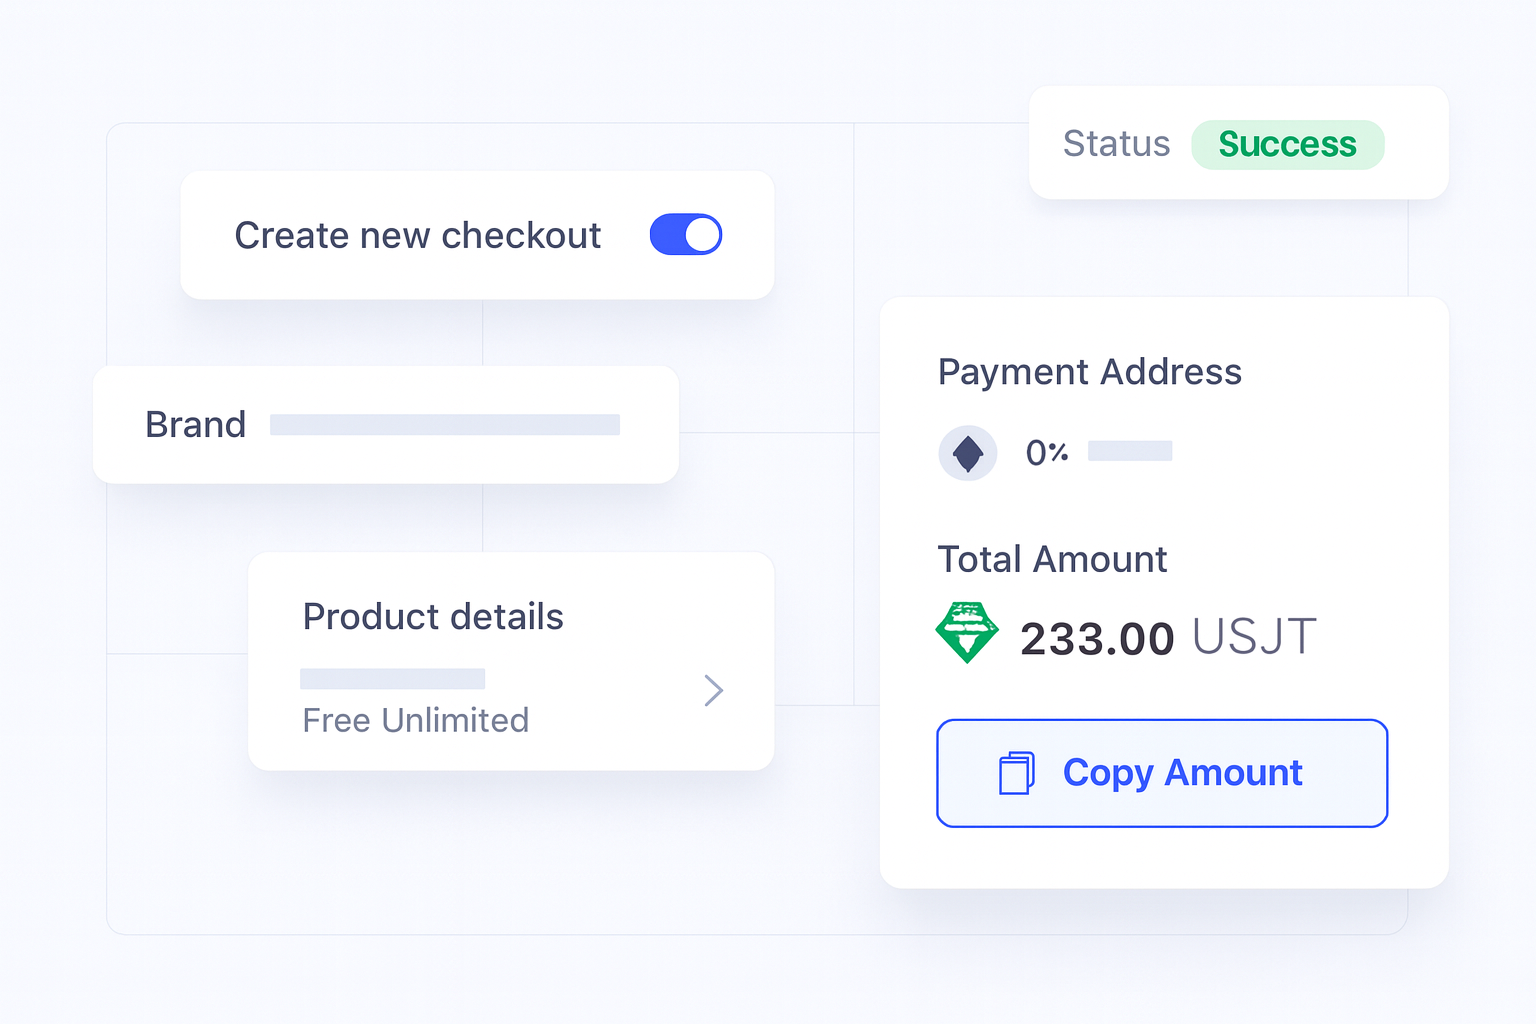
From there, configure the checkout in Radom with the payment details your business needs. The product page shows support for brand controls, product images, and payment settings, so use those fields to reflect your offer clearly. Keep the first version simple. The goal is to launch a checkout that customers can complete without confusion.
If your team prefers to automate more of the flow, Radom also supports APIs, which makes it easier to connect checkout events to your own systems.
3. Match the flow to your brand
Use the available design settings to make the hosted page feel like part of your site. Radom supports custom colors, fonts, logo placement, product images, and payment settings. That matters because checkout performance often depends on trust and clarity, especially for first-time buyers paying with crypto.
Keep the layout readable, the payment amount obvious, and the next step unambiguous. A clean hosted page is usually better than a heavily branded one that slows the buyer down.
4. Connect the checkout to your website or app
Radom Checkout is designed to be added to your website or app with a few lines of code. That makes it practical for teams that want to launch quickly without building a full payment interface from scratch. If your developers want implementation detail, use the documentation alongside the product page.
For teams with a simpler workflow, Radom Payment Links can also be useful when you need to collect payment without a full checkout integration. See the crypto payment links page if that is a better fit for your use case.
5. Test the payment experience end to end
Before you send traffic to the live checkout, test the full flow from customer entry to payment confirmation. Check that the amount, accepted assets, branding, and payment instructions are clear. Confirm that your team can see status updates and that the handoff into your internal workflow works as expected.
This is where hosted checkout removes a lot of work. Radom gives you a complete payment experience without forcing your team to build the interface, wallet support, and status handling from scratch.
6. Decide how you want to settle funds
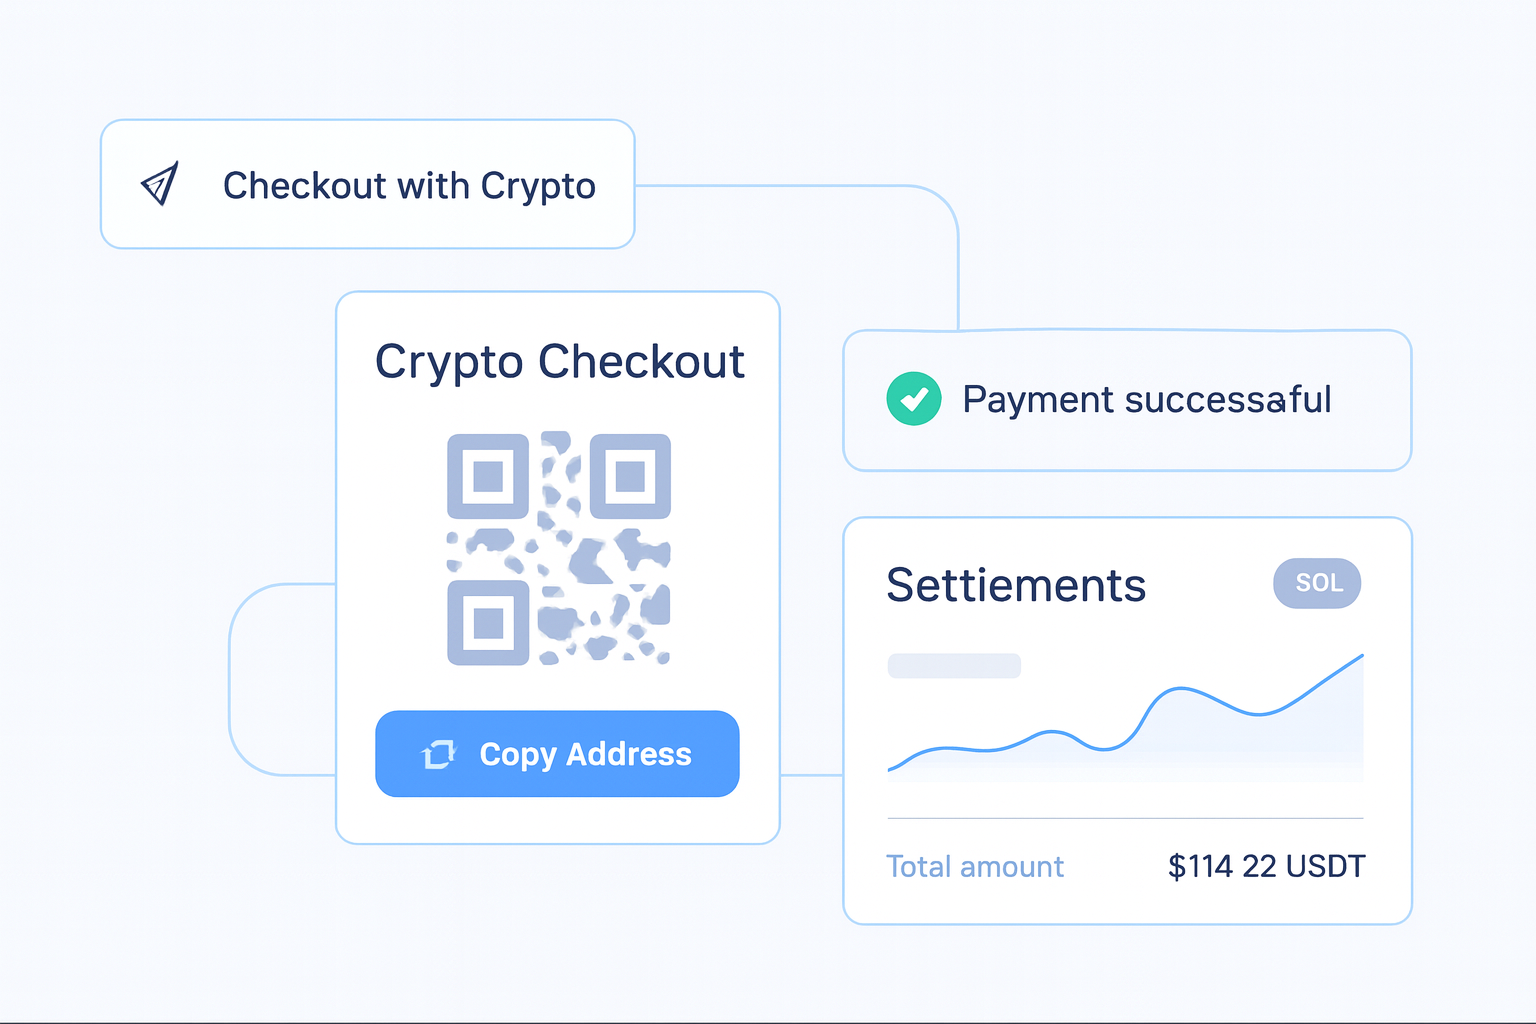
Once payments are flowing, decide whether you want to keep balances in Radom, convert assets, or withdraw to your wallet. Radom's crypto payments page says you can receive funds to your Radom balance, convert assets, or withdraw to your wallet. That gives finance teams more control over settlement and treasury workflows after checkout is live.
If your business needs broader payment operations, review crypto payments and pricing to understand how checkout sits inside the wider platform.
Where Radom removes work
Radom reduces the parts of checkout that usually slow teams down: building the hosted page, managing wallet support, showing payment status clearly, and keeping the flow usable for one-time payments and subscriptions. For developers, the API path helps automate the workflow. For operators, the hosted flow means you can launch without waiting on a full custom build.
That makes Radom a practical option for SaaS teams, ecommerce brands, marketplaces, gaming platforms, affiliate networks, and subscription businesses that want crypto payment acceptance without unnecessary engineering overhead.
When to use checkout, payment links, or contact sales
Use hosted checkout when you need a branded payment page on your site or app. Use payment links when you want a lighter no-code way to collect payment. If you are planning higher-volume payment flows, need help with implementation, or want to discuss the right setup for your business model, contact sales.
To move forward, you can start with crypto checkout, review pricing, or speak with the team through contact sales.
Frequently asked questions
How do I set up checkout with crypto on Radom?+
Create a hosted crypto checkout in your Radom account, configure the payment details and branding, then add it to your website or app with a few lines of code.
Does Radom checkout support subscriptions?+
Yes. The published product page says Radom Checkout supports one-time payments and subscriptions.
Can I brand the checkout page?+
Yes. Radom says you can match checkout to your brand with custom colors, fonts, logo placement, product images, and payment settings.
Do I need a developer to launch?+
Not always. The product page says you can add hosted checkout with a few lines of code, and Radom also offers payment links for lighter no-code workflows.
What happens after a customer pays?+
Radom says you get reliable status updates, and you can receive funds to your Radom balance, convert assets, or withdraw to your wallet.
Next step
If hosted crypto checkout is the right fit, start with the product page, compare the available pricing, and use the docs if your team is ready to integrate.
Open crypto checkout or contact sales for a setup discussion.