Why set up a crypto checkout page
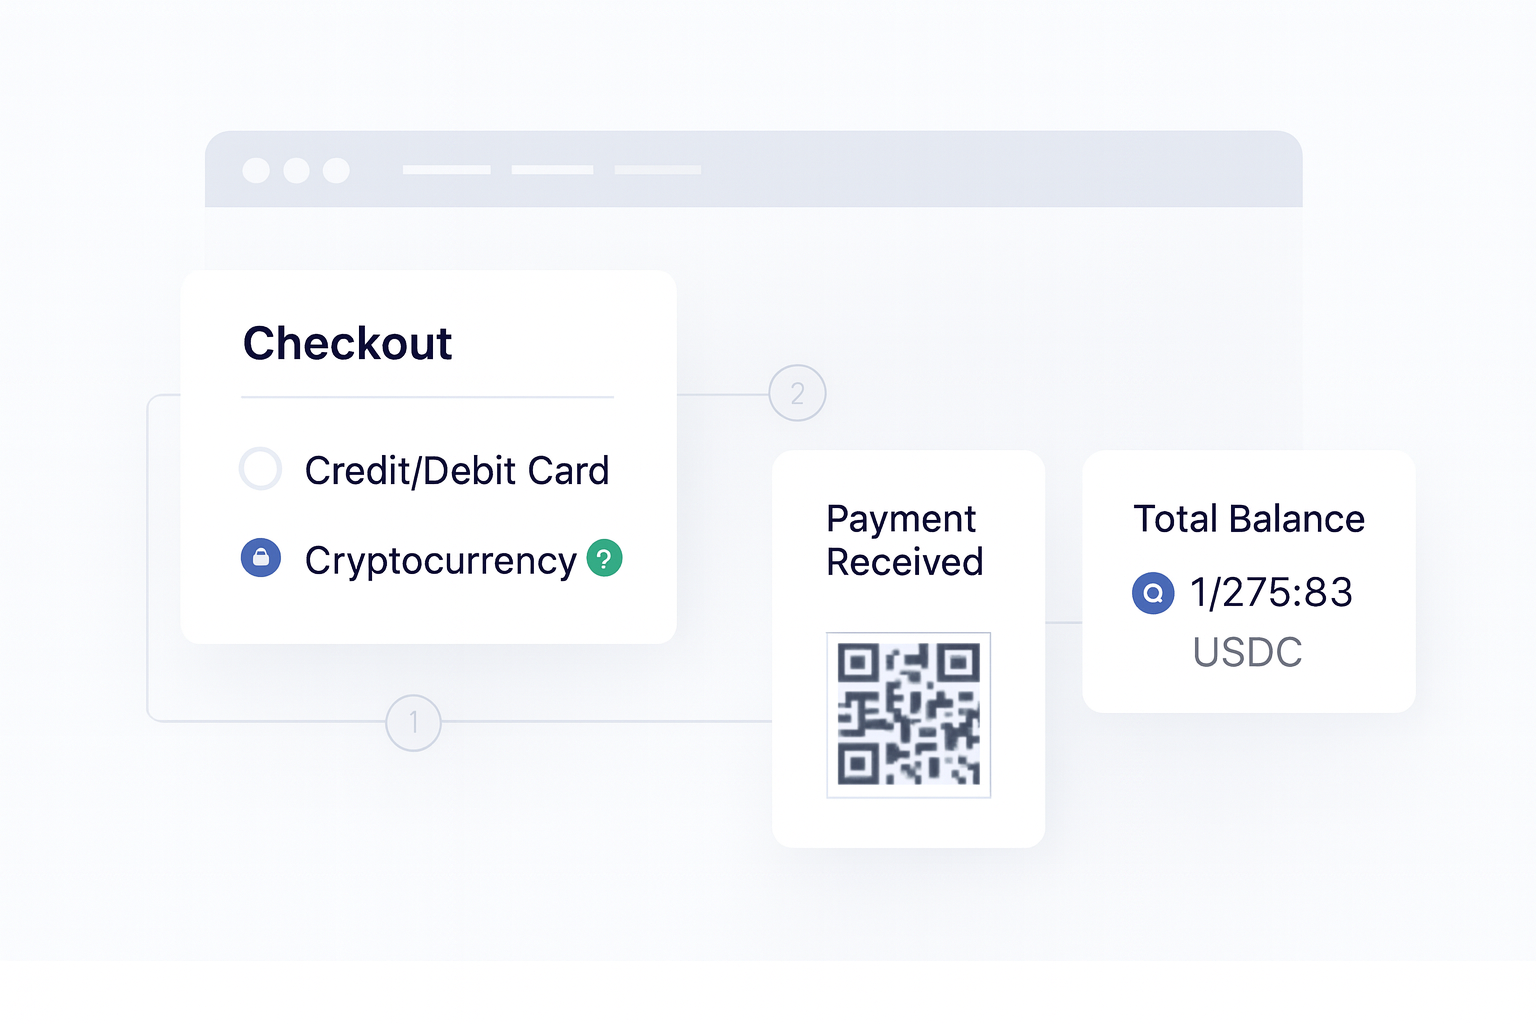
If you want to accept crypto payments without building every payment screen yourself, a hosted checkout page is the fastest place to start. It gives buyers a clear payment flow and gives your team a controlled way to collect one-time payments or subscriptions.
Radom’s crypto checkout is designed for businesses that want a branded hosted flow with wallet support and reliable status updates, without extra engineering work for the payment page itself.
If your goal is to launch quickly and keep the payment experience consistent, a hosted checkout page is usually the right first step before deeper custom integration.
How to set up a crypto checkout page
- Choose the payment model. Decide whether you need one-time payments, subscriptions, or both.
- Define what the buyer sees. Set the product details, pricing, and payment settings you want on the hosted page.
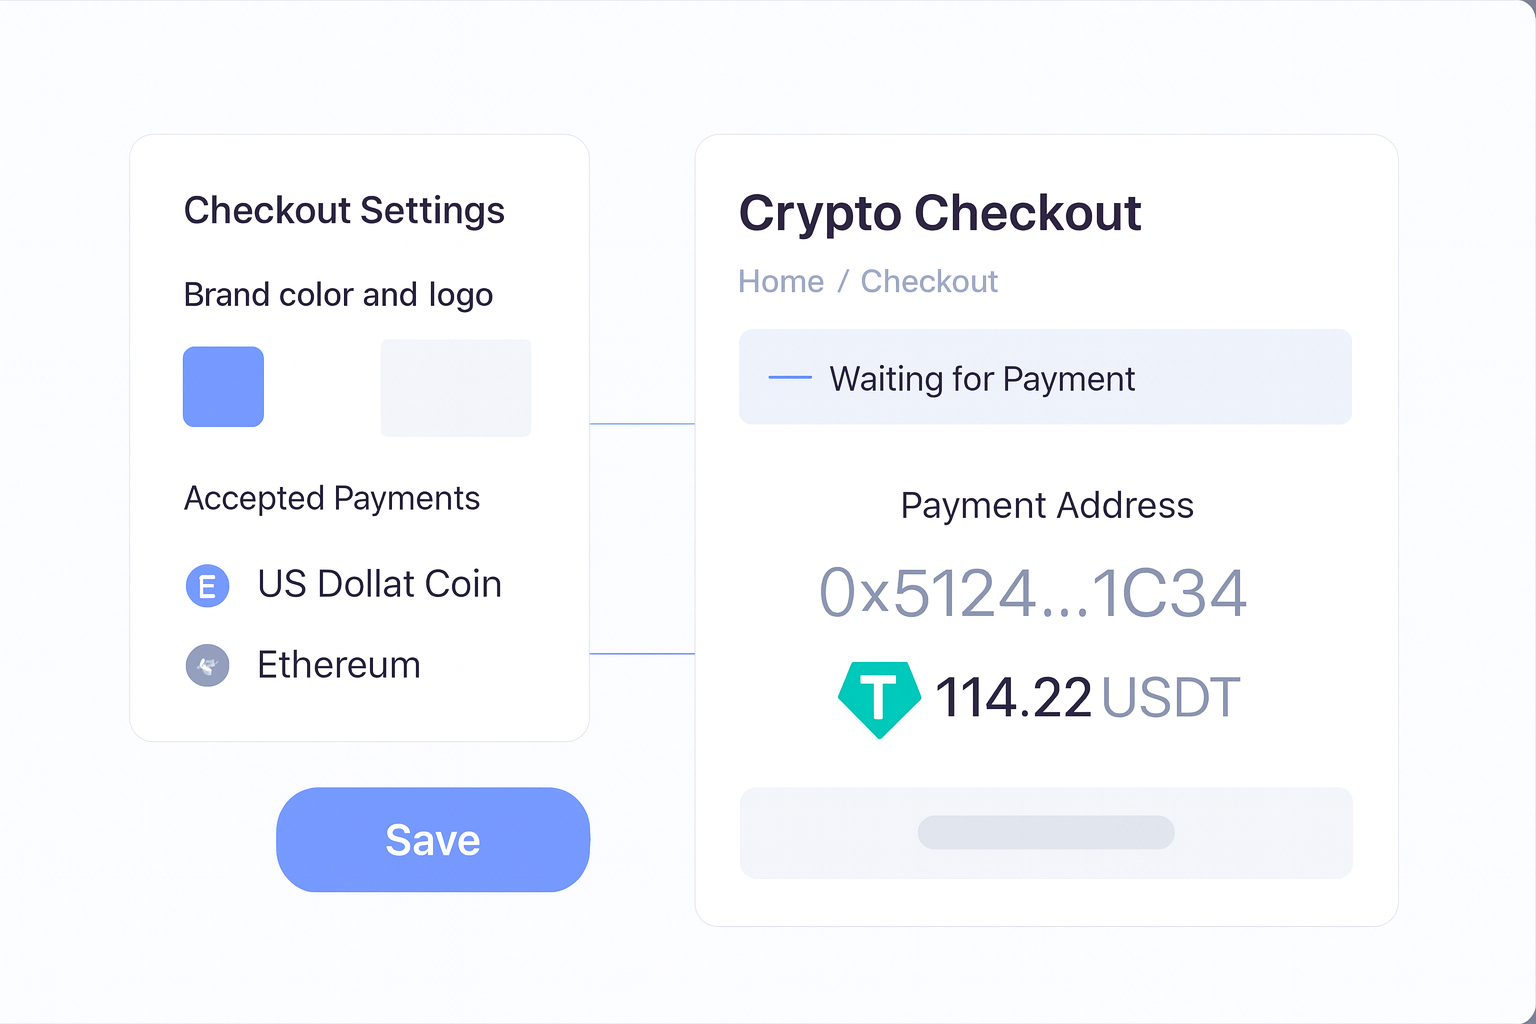
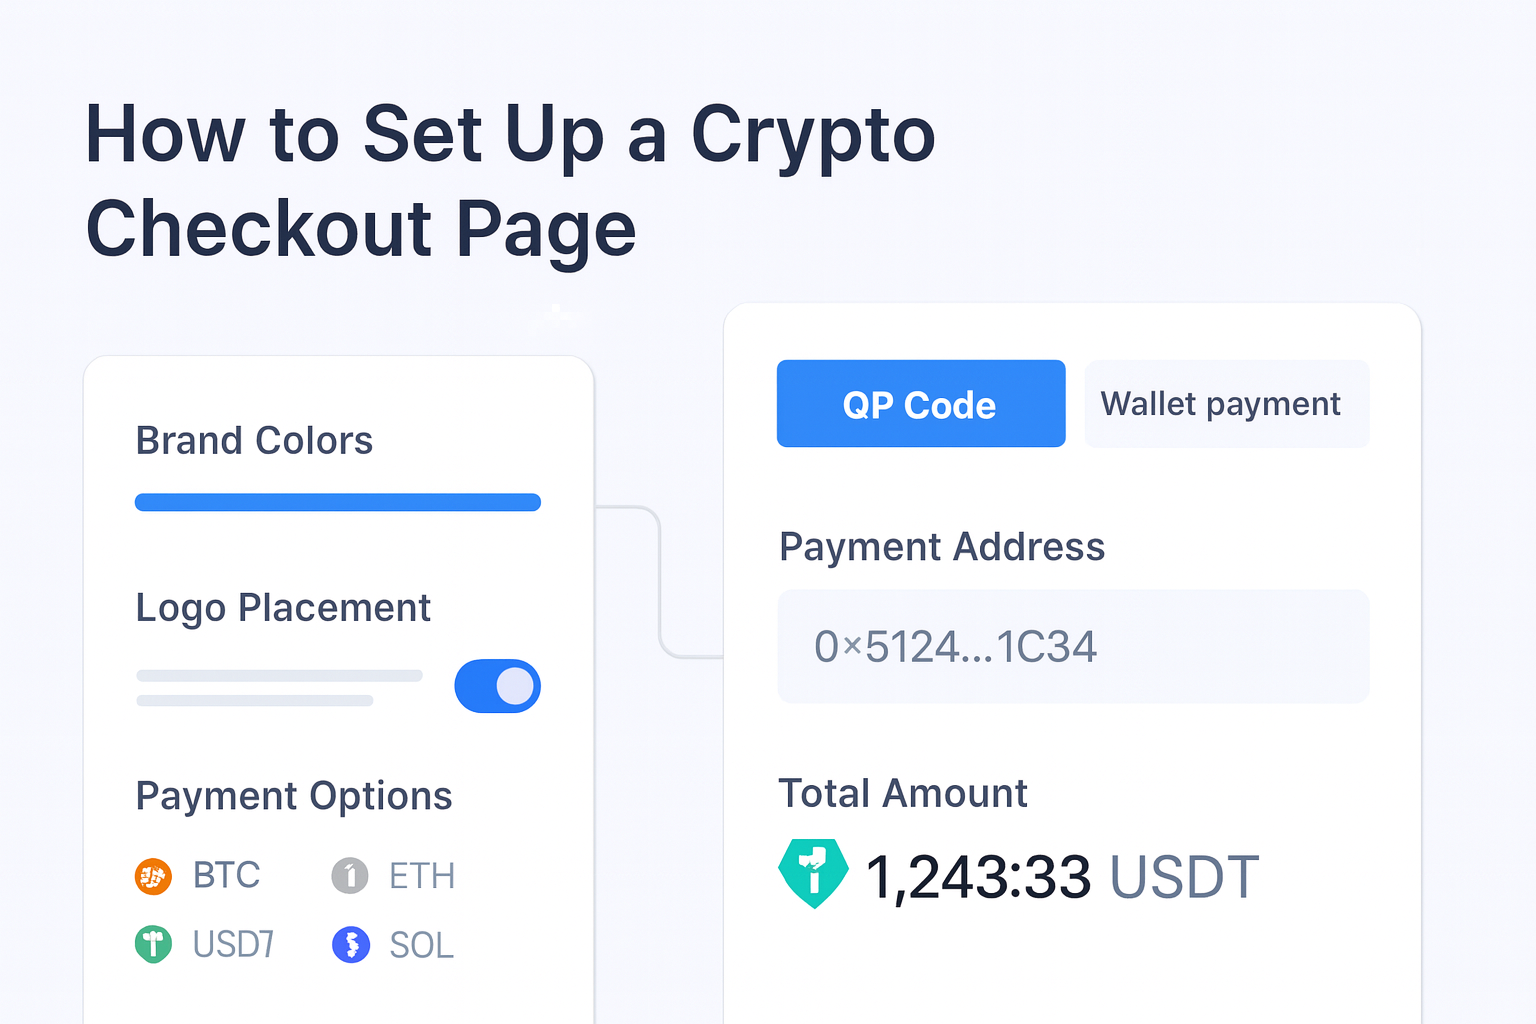
- Apply your brand. Add your logo, colors, fonts, and any approved product images so the checkout matches your site.
- Connect your workflow. Use the dashboard or API flow that fits your team, depending on whether you want no-code setup or a more automated integration.
- Test the buyer journey. Confirm the page is clear on desktop and mobile, and that payment status updates behave as expected.
- Decide how you want to receive funds. Set up the settlement or withdrawal path that matches your finance workflow.
Where Radom removes work
Radom reduces the amount of payment infrastructure you need to build and maintain. Instead of designing a checkout from scratch, you can use a hosted page with built-in payment methods and status handling. Instead of managing separate tools for acceptance, billing, and settlement, you can keep those workflows in one platform.
For teams that need a faster launch, this matters because it shortens the path from payment intent to live checkout. For teams that expect more volume or more complex requirements, it also creates a cleaner handoff between product, finance, and operations.
Radom also supports businesses that want to accept crypto across different channels, including hosted checkout, payment links, invoices, subscriptions, and APIs. If you are still deciding which format fits best, review the broader crypto payments product page.
What to configure before launch
Before you publish the page, confirm the basics your buyers will rely on:
- Accepted assets and payment settings
- Branding and page layout
- Subscription or one-time payment logic
- Who on your team receives payment notifications
- How received funds should settle or be withdrawn
If your team wants to compare plans or understand the commercial structure before rollout, review Radom pricing. For implementation details, send engineers to the Radom documentation.
When to use checkout instead of payment links
Use hosted checkout when you want a more complete payment page with a branded experience and clearer structure for buyers. Use payment links when you need something lighter weight and faster to share across channels. Many teams use both, depending on the sales motion.
For quick no-code payment collection, see crypto payment links. If you need both acceptance and recurring revenue workflows, checkout and billing can sit alongside each other in the same account.
Best fit for teams that need control and speed
Hosted crypto checkout is a good fit for SaaS businesses, e-commerce brands, marketplaces, gaming platforms, affiliate networks, creators, and subscription businesses that want a practical payment flow without a long build cycle.
If your team needs help scoping the setup, or if you expect higher volume and want to discuss the right configuration, contact sales.
Frequently asked questions
Can I accept one-time payments and subscriptions with Radom checkout?+
Yes. Radom Checkout supports one-time payments and subscriptions.
Can I brand the checkout page?+
Yes. You can match the checkout to your brand with custom colors, fonts, logo placement, product images, and payment settings.
Do I need to build the checkout interface myself?+
No. Radom provides a hosted payment flow, which reduces the work needed to launch a usable checkout page.
Where should developers start?+
Start with the documentation if you want to integrate checkout into your product or automate the flow with APIs.
What if I am not sure whether checkout or payment links are better?+
Checkout is better when you want a fuller hosted payment page. Payment links are better when you want a lighter no-code payment option. Many teams use both.