
How to set up crypto payments
If you want to accept crypto payments as a business, the job is not just taking a wallet transfer. You need a payment flow that fits your checkout, invoice, billing, or payout process, then a clear way to track balances and settle funds. Radom is built for that operational layer.
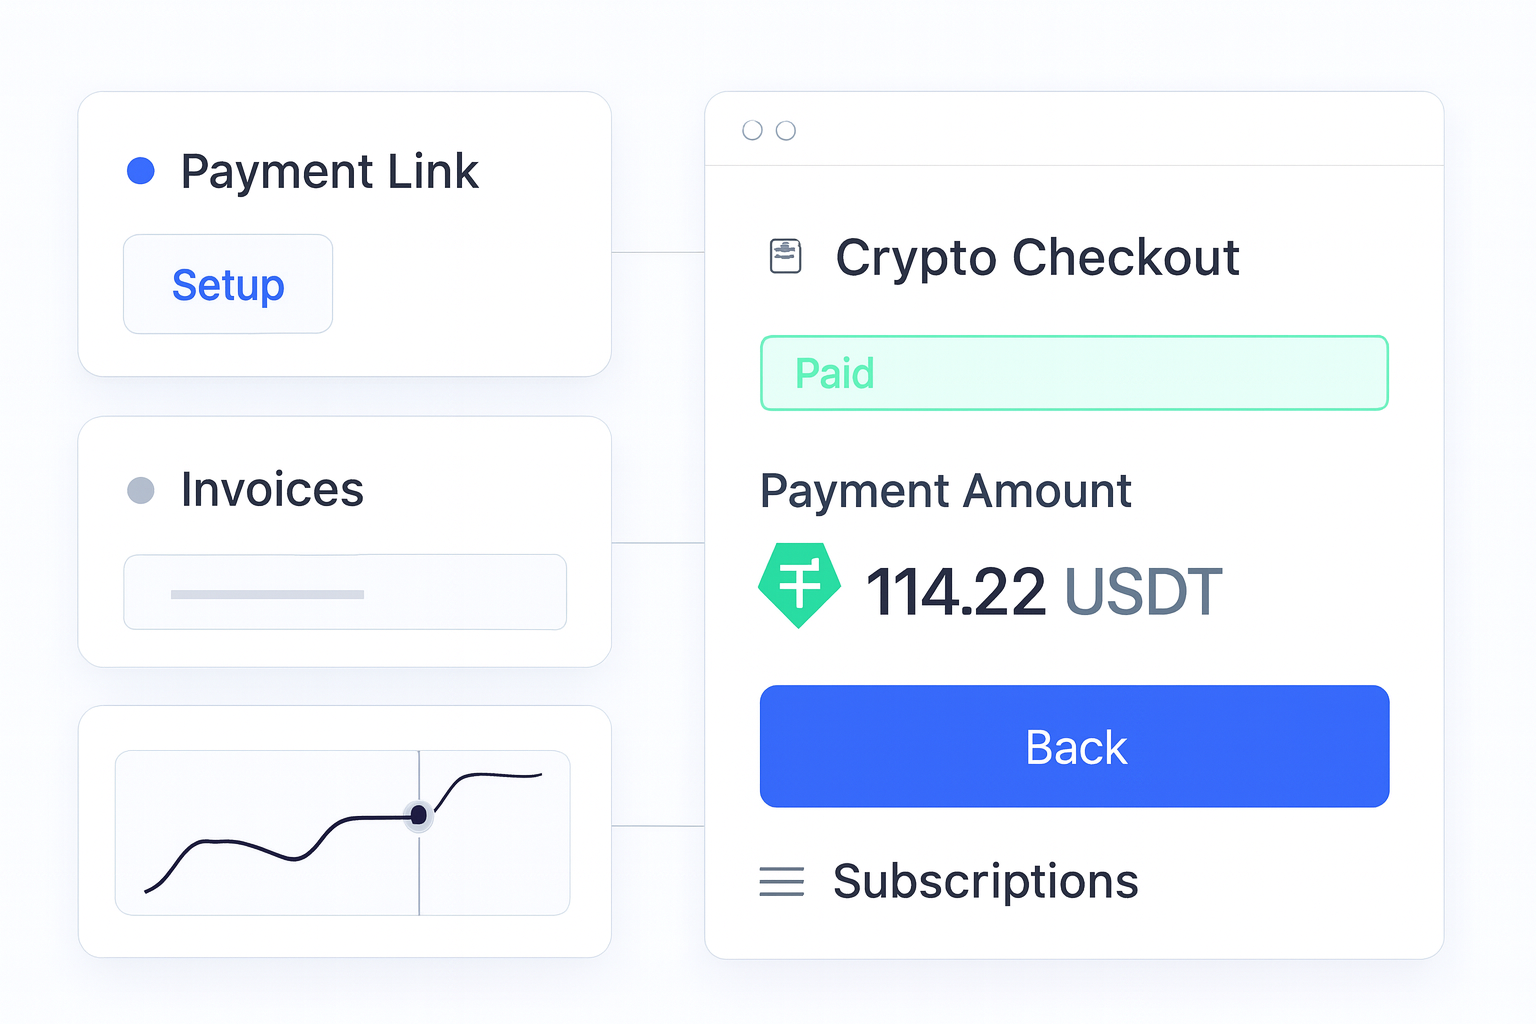
Radom supports crypto payments, billing, subscriptions, invoices, payment links, payouts, and payment APIs from one platform. You can use hosted checkout, payment links, or API-led flows depending on how your team sells.
For teams evaluating setup options, start with crypto checkout if you want a hosted payment page, or review crypto payments for the broader payment stack.
1. Choose the payment flow that matches your business
Before you configure anything, decide how customers will pay.
- Hosted checkout for a ready-made payment page.
- Payment links for quick collection without a full checkout build.
- Invoices for finance-led or services-led payment collection.
- Subscriptions for recurring revenue models.
- APIs for teams that want to automate the full flow.
This matters because the right setup reduces internal friction later. A payments team may want a hosted page and reporting. A developer may want API control. A finance team may want invoice and reconciliation workflows. Radom supports all of these from the same account.
2. Decide what you want to do with funds after payment
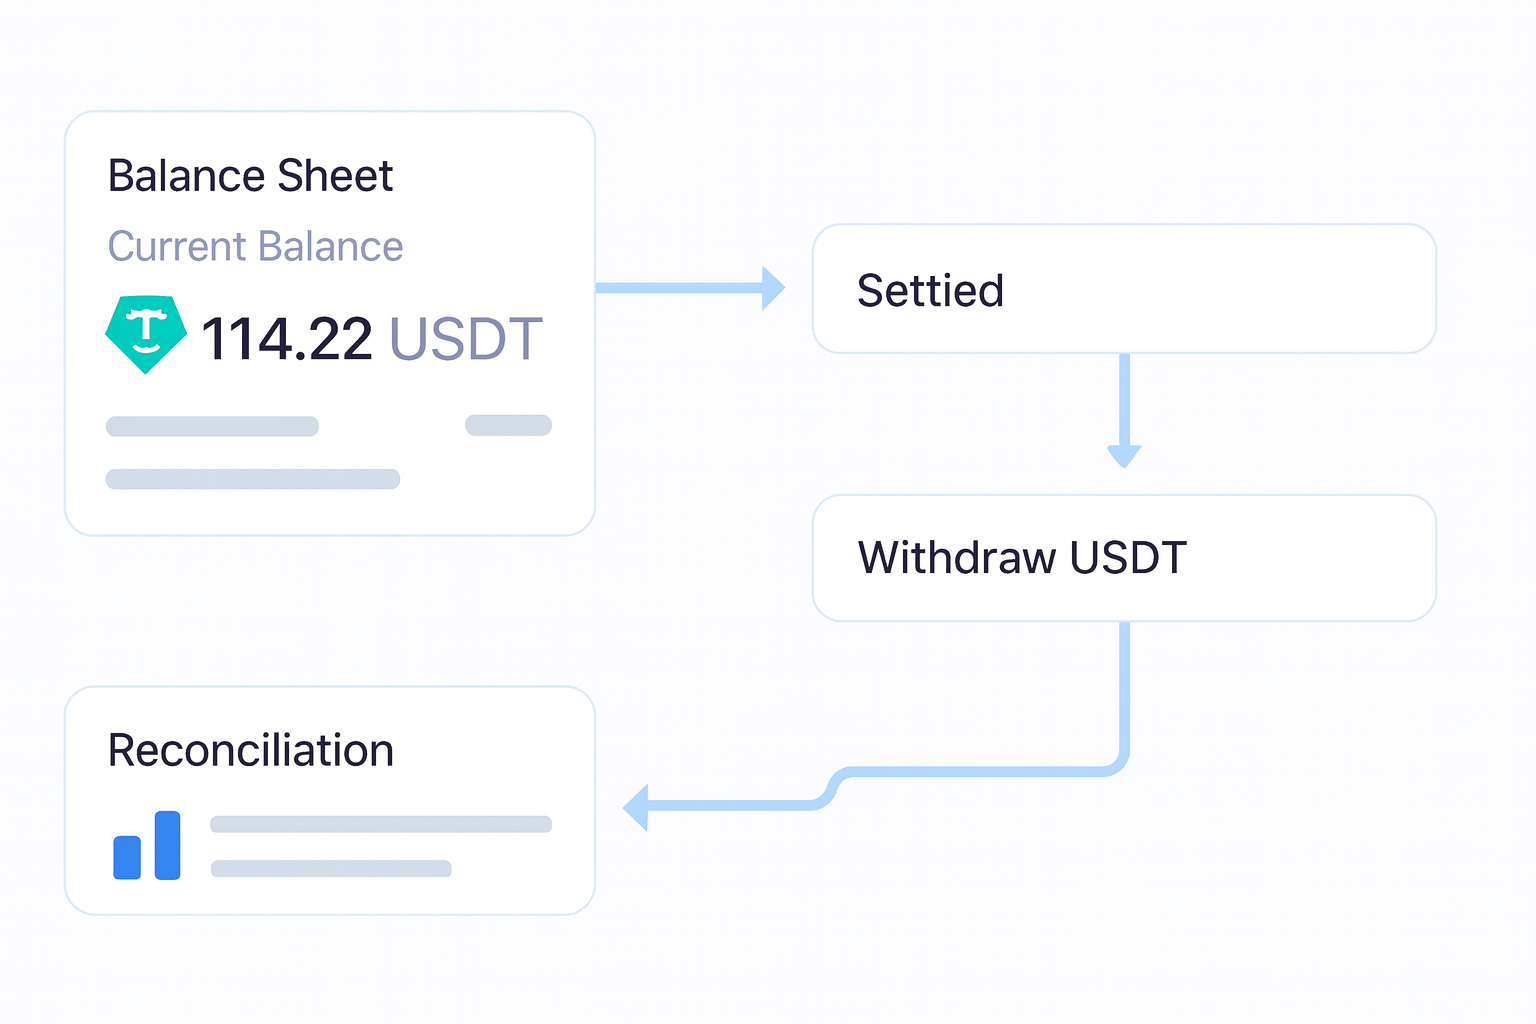
Once a payment lands, your team needs a settlement plan. Some businesses want to hold balances in crypto. Others want to convert or withdraw funds. Radom supports receiving funds to your Radom balance, converting assets, or withdrawing to your wallet.
If your workflow depends on moving between crypto and fiat, review crypto on and off ramp and crypto convert to see how settlement and conversion fit into operations.
3. Set up the customer-facing payment experience
For most businesses, the customer experience should be straightforward. Radom Checkout gives customers a clear hosted payment flow for one-time payments and subscriptions, with wallet support and status updates. The checkout can be branded with custom colors, fonts, logo placement, product images, and payment settings.
That means you can keep the payment page aligned with your brand without building every interface from scratch. For teams that want implementation details, the next step is usually the Radom documentation.
4. Connect the payment flow to your internal operations
A useful crypto payment setup should help your team manage more than acceptance. It should also make reconciliation, reporting, and balance management easier.
Radom is designed to help businesses keep control of settlement, reconciliation, and reporting while accepting crypto across the channels they already use. That is important for finance teams, operators, and developers who need a payment layer that fits existing workflows.
Where Radom removes work:
- No need to build a checkout page from scratch if hosted checkout fits.
- No need to create separate flows for payment links, invoices, and subscriptions.
- No need to manage acceptance, settlement, and reporting across separate tools.
- No need to force every customer into the same payment path.
5. Pick the channels your team will launch first
Most teams do better when they launch one or two payment paths first, then expand. For example, a SaaS company might start with hosted checkout and subscriptions. A marketplace might use payment links and APIs. A finance team might lead with invoices and reporting.
Radom supports businesses across SaaS, e-commerce, marketplaces, gaming platforms, and affiliate networks, so the setup can match the way you already sell.
6. Review pricing and implementation before you go live
Radom uses per-transaction pricing, with no setup fees or monthly fees. If you are comparing tools, the pricing page is the right place to check the current structure. For higher volume or more complex requirements, contact sales before launch.
See Radom pricing for the current commercial model, or contact sales if you want help choosing the right setup.
What a practical launch plan looks like
- Choose the payment flow: checkout, links, invoices, subscriptions, or API.
- Decide whether you want to hold, convert, or withdraw funds after payment.
- Brand the customer-facing payment experience.
- Connect reporting and reconciliation to your finance process.
- Test the flow in a live-like environment before public launch.
- Go live with one use case, then expand to other payment paths.
When to use docs, pricing, or sales
Use the documentation if your team is integrating. Use pricing if you want the commercial details. Use sales if you need help mapping Radom to a specific payment model, volume level, or operating workflow.
For developers, the fastest path is usually Radom docs. For buyers comparing setup options, pricing is the next step. For teams that want a guided implementation conversation, contact sales is the right route.
Frequently asked questions
What is the easiest way to set up crypto payments?+
For many businesses, hosted checkout is the easiest starting point because it gives you a ready-made payment page without building the full flow yourself.
Can Radom support subscriptions and invoices?+
Yes. Radom supports subscriptions and invoices as part of its crypto payments platform.
Can I accept crypto and settle in fiat?+
Radom supports settlement in crypto or fiat. If your workflow depends on conversion or off-ramping, review the crypto on and off ramp and crypto convert pages.
Do I need to use the API to get started?+
No. Radom supports no-code tools as well as APIs, so teams can choose the level of implementation that fits their workflow.
Is Radom only for developers?+
No. Radom is built for businesses and platform operators, including founders, finance teams, and payments teams, not only developers.
Next step
If you are mapping out a crypto payment launch, start with the product that matches your workflow, then expand from there. You can set up hosted checkout, review the full crypto payments platform, or contact sales for a setup conversation.