How to set up web3 checkout
If you need to accept crypto payments on a website or in an app, the fastest path is usually a hosted checkout. It gives buyers a clear payment page, gives your team control over the flow, and avoids building every payment screen from scratch.
Radom’s crypto checkout is built for one-time payments and subscriptions. It can also sit alongside other payment workflows, including crypto payment links for lighter use cases and crypto payments for teams comparing the full product set.
1. Decide what you want checkout to do
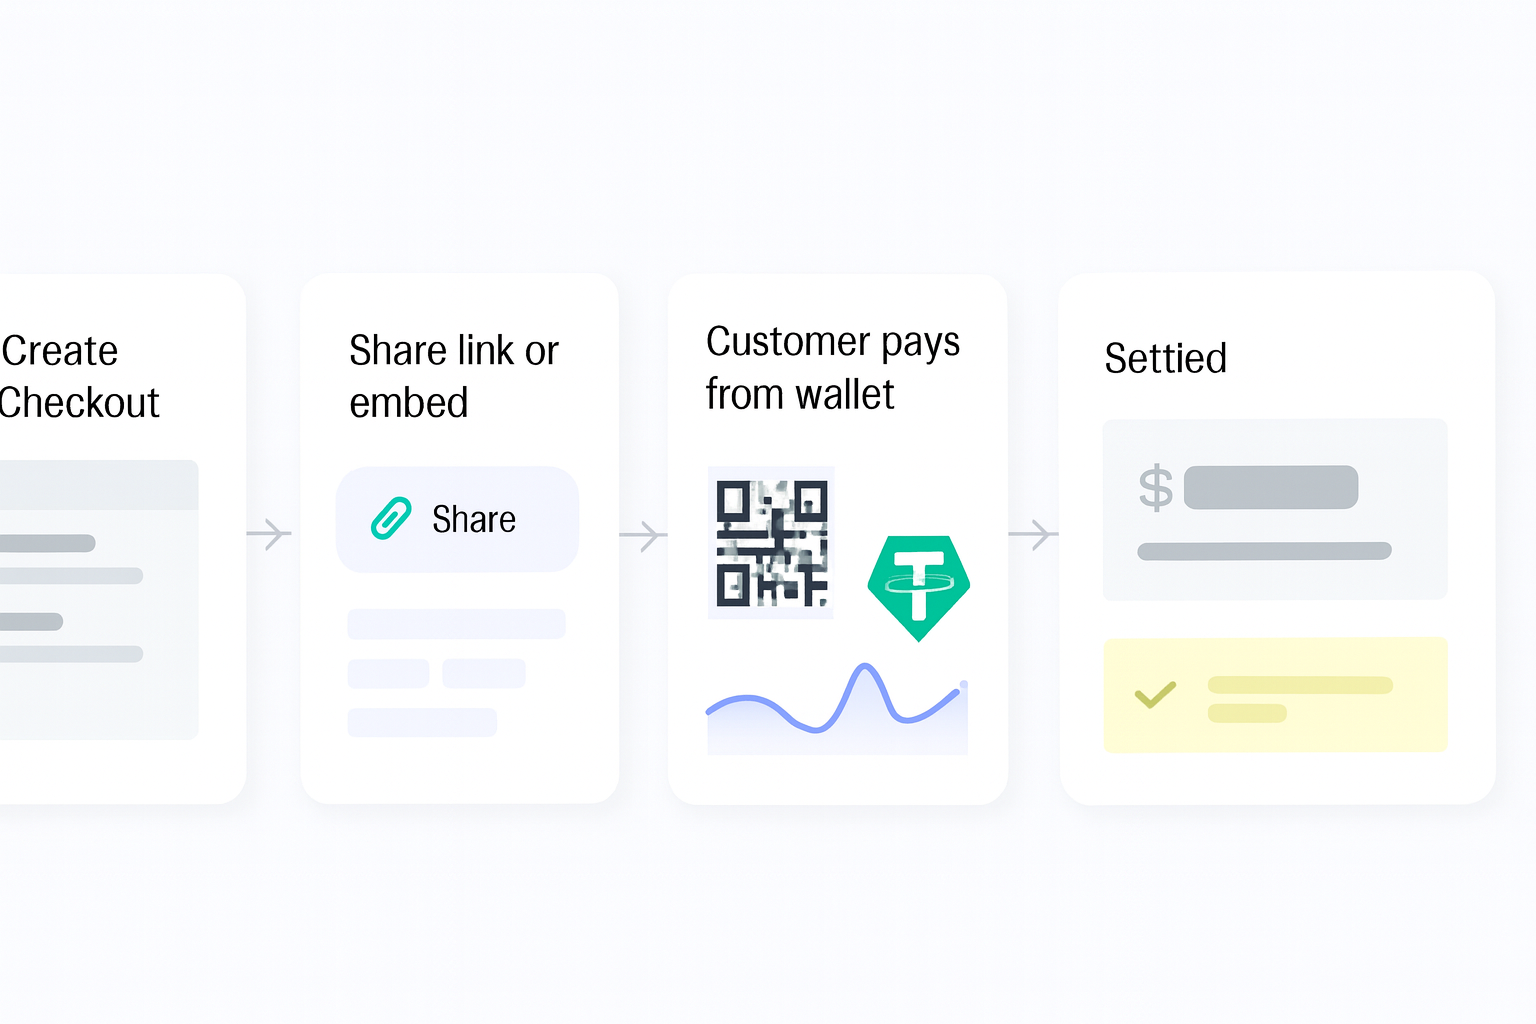
Start with the business job, not the UI. For most teams, web3 checkout is meant to do one of four things: collect one-time payments, start subscriptions, support a branded hosted payment page, or reduce the engineering work needed to launch crypto acceptance.
If your workflow is simple, payment links may be enough. If you need a branded checkout page that fits a website or app, hosted checkout is the better fit.
2. Map the payment flow before you build
Before implementation, define the basics your team needs to support:
- Which products or plans customers can buy
- Whether the payment is one-time or recurring
- Which assets or wallets you want to support
- What should happen after payment is completed
- How finance will track settlement and reconciliation
This is the point where many teams save time by using Radom instead of assembling separate tools for checkout, payment status handling, and post-payment operations.
3. Configure the hosted checkout experience
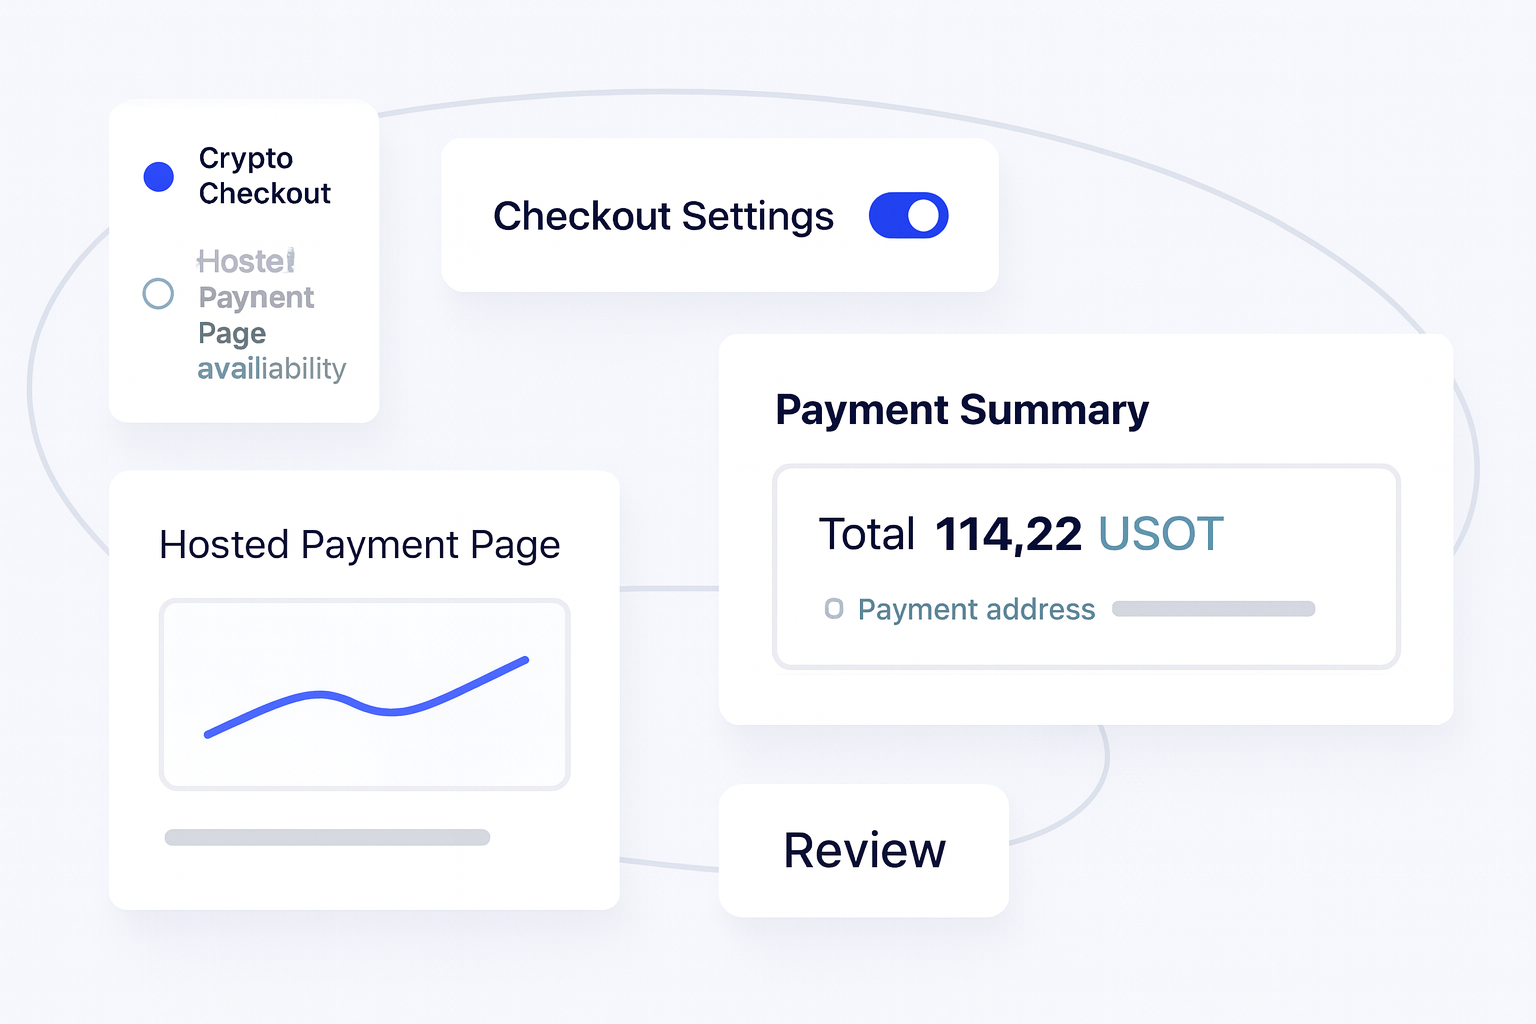
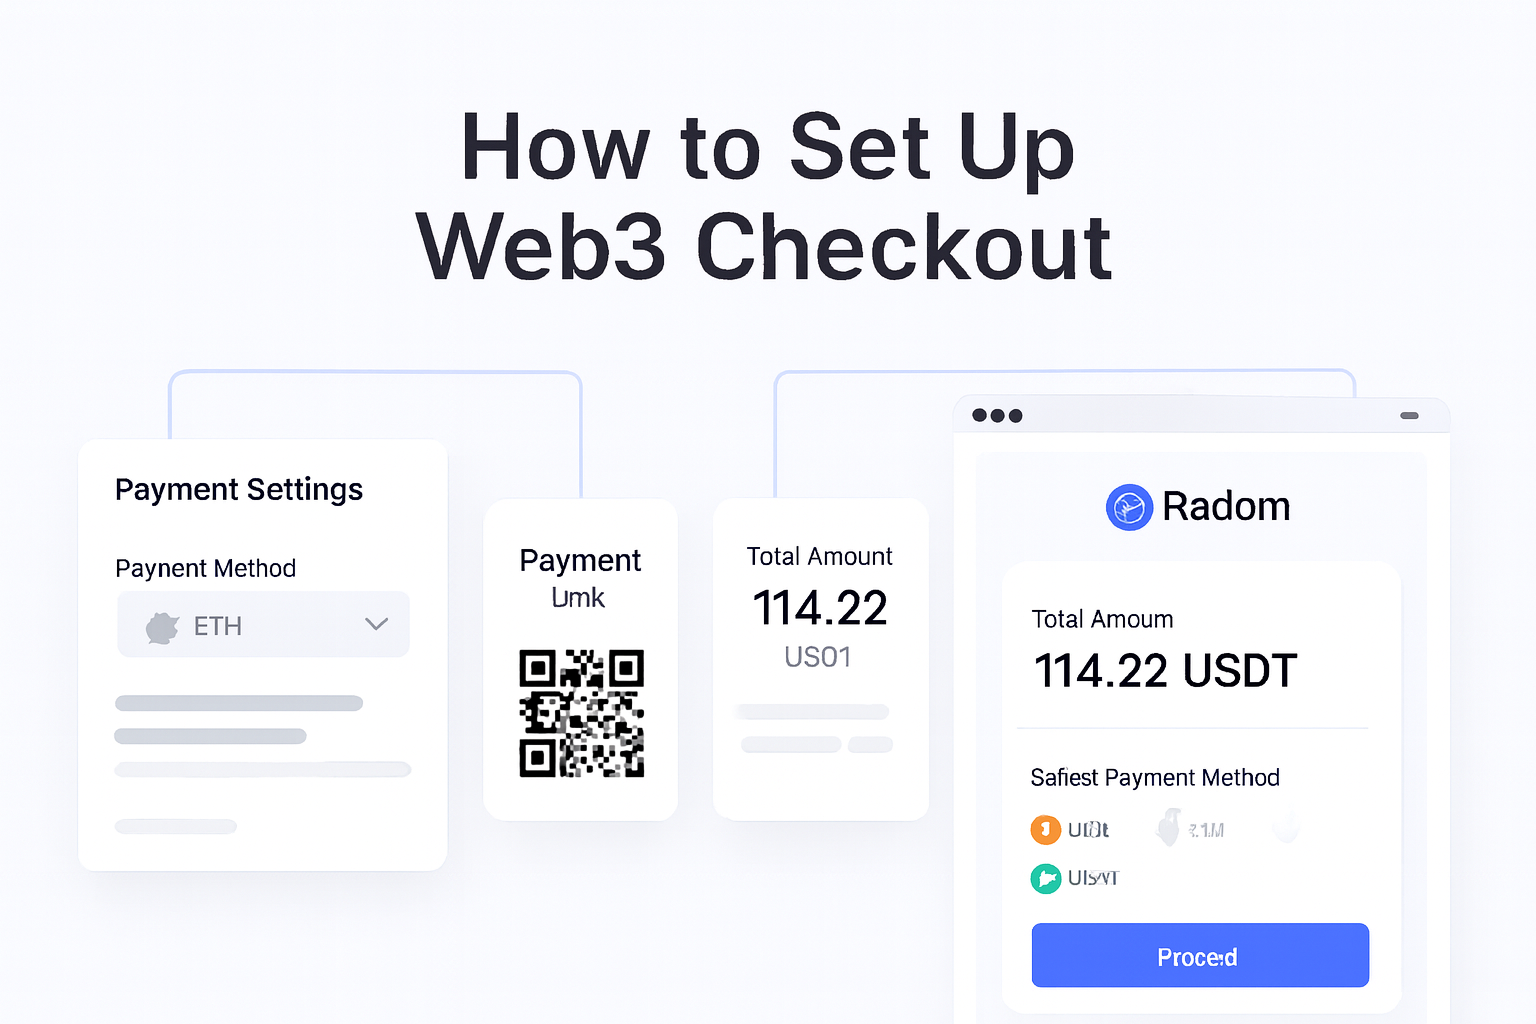
Radom Checkout gives customers a clear hosted payment flow with wallet support and reliable status updates. You can match the checkout to your brand with custom colors, fonts, logo placement, product images, and payment settings.
That matters for conversion because buyers see a familiar payment experience instead of a generic crypto flow. It also keeps your team from having to design and maintain a custom payment interface.
4. Connect checkout to your product or billing flow
Once the checkout is configured, connect it to the place where customers buy. That might be a pricing page, account upgrade flow, invoice workflow, or subscription signup.
For teams that want a low-code path, Radom’s hosted checkout can be launched quickly. For teams that need more control, the API and docs support more automated payment flows. If you are evaluating implementation detail, start with the documentation.
5. Test payment status, settlement, and reporting
Before launch, test the full payment lifecycle, not just the checkout screen. Your team should confirm that payment status updates are clear, received funds appear correctly, and the finance workflow for settlement or withdrawal is understood.
Radom lets businesses receive funds to a Radom balance, convert assets, or withdraw to a wallet. That gives operators a practical way to manage post-payment movement without adding separate tools for every step.
6. Launch with the simplest customer path
When the checkout is ready, launch with the shortest path from product page to payment page. Keep the customer journey focused and avoid extra steps that create drop-off.
If your team wants to compare setup options or pricing before launch, review Radom pricing or contact sales for higher-intent questions.
Where Radom removes work
Radom is useful when you want to accept crypto payments without stitching together multiple products. It gives you hosted checkout, payment links, billing, invoices, payment APIs, and settlement tools from one platform.
For operators, that reduces the work involved in building the payment page, tracking payment status, and managing what happens after funds arrive. For developers, it means less custom infrastructure to maintain. For finance teams, it gives a clearer path to balance management and reconciliation.
Who this setup is for
Web3 checkout is a strong fit for SaaS teams, marketplaces, creator platforms, affiliate businesses, iGaming operators, and other digital businesses that want to accept crypto without rebuilding their payment stack.
If your use case is broader than checkout alone, you may also want to review crypto payment processing to see how checkout fits into the full product suite.
Frequently asked questions
Do I need to build a custom payment page?+
No. Radom offers a hosted crypto checkout that gives customers a clear payment flow without requiring you to build every interface yourself.
Can I use web3 checkout for subscriptions?+
Yes. Radom Checkout supports one-time payments and subscriptions.
Can I brand the checkout page?+
Yes. Radom supports custom colors, fonts, logo placement, product images, and payment settings.
What happens after a customer pays?+
Radom provides reliable status updates, and businesses can receive funds to a Radom balance, convert assets, or withdraw to a wallet.
Where should I start if I want implementation help?+
Start with the Radom documentation, then move to contact sales if you need help with a higher-volume or more specific workflow.
Next step
If you are ready to set up web3 checkout, the fastest next step is to contact sales or review the pricing page. Developers can also start with the docs to evaluate the integration path.